
This will be the easiest, fastest DIY I have ever written.
So after replacing my front sway bushings which were hardened to hell I decided to give it a go and replace the rears. Since there isn´t a DIY about doing that on the 2G MDX I decided to write this DIY.
Parts you will need:
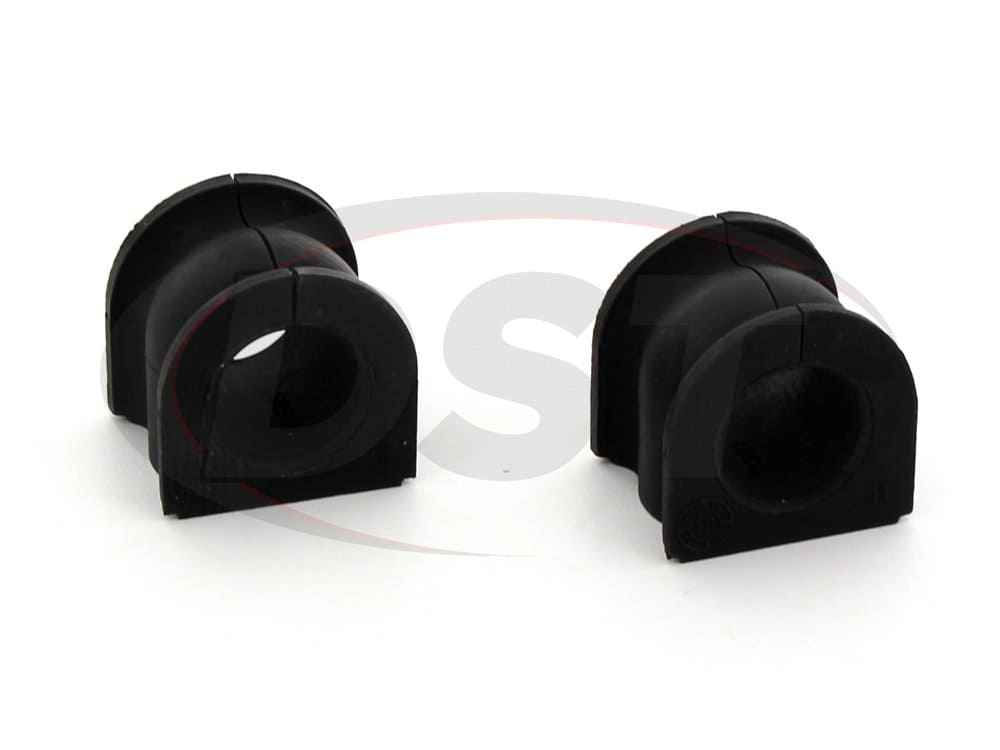
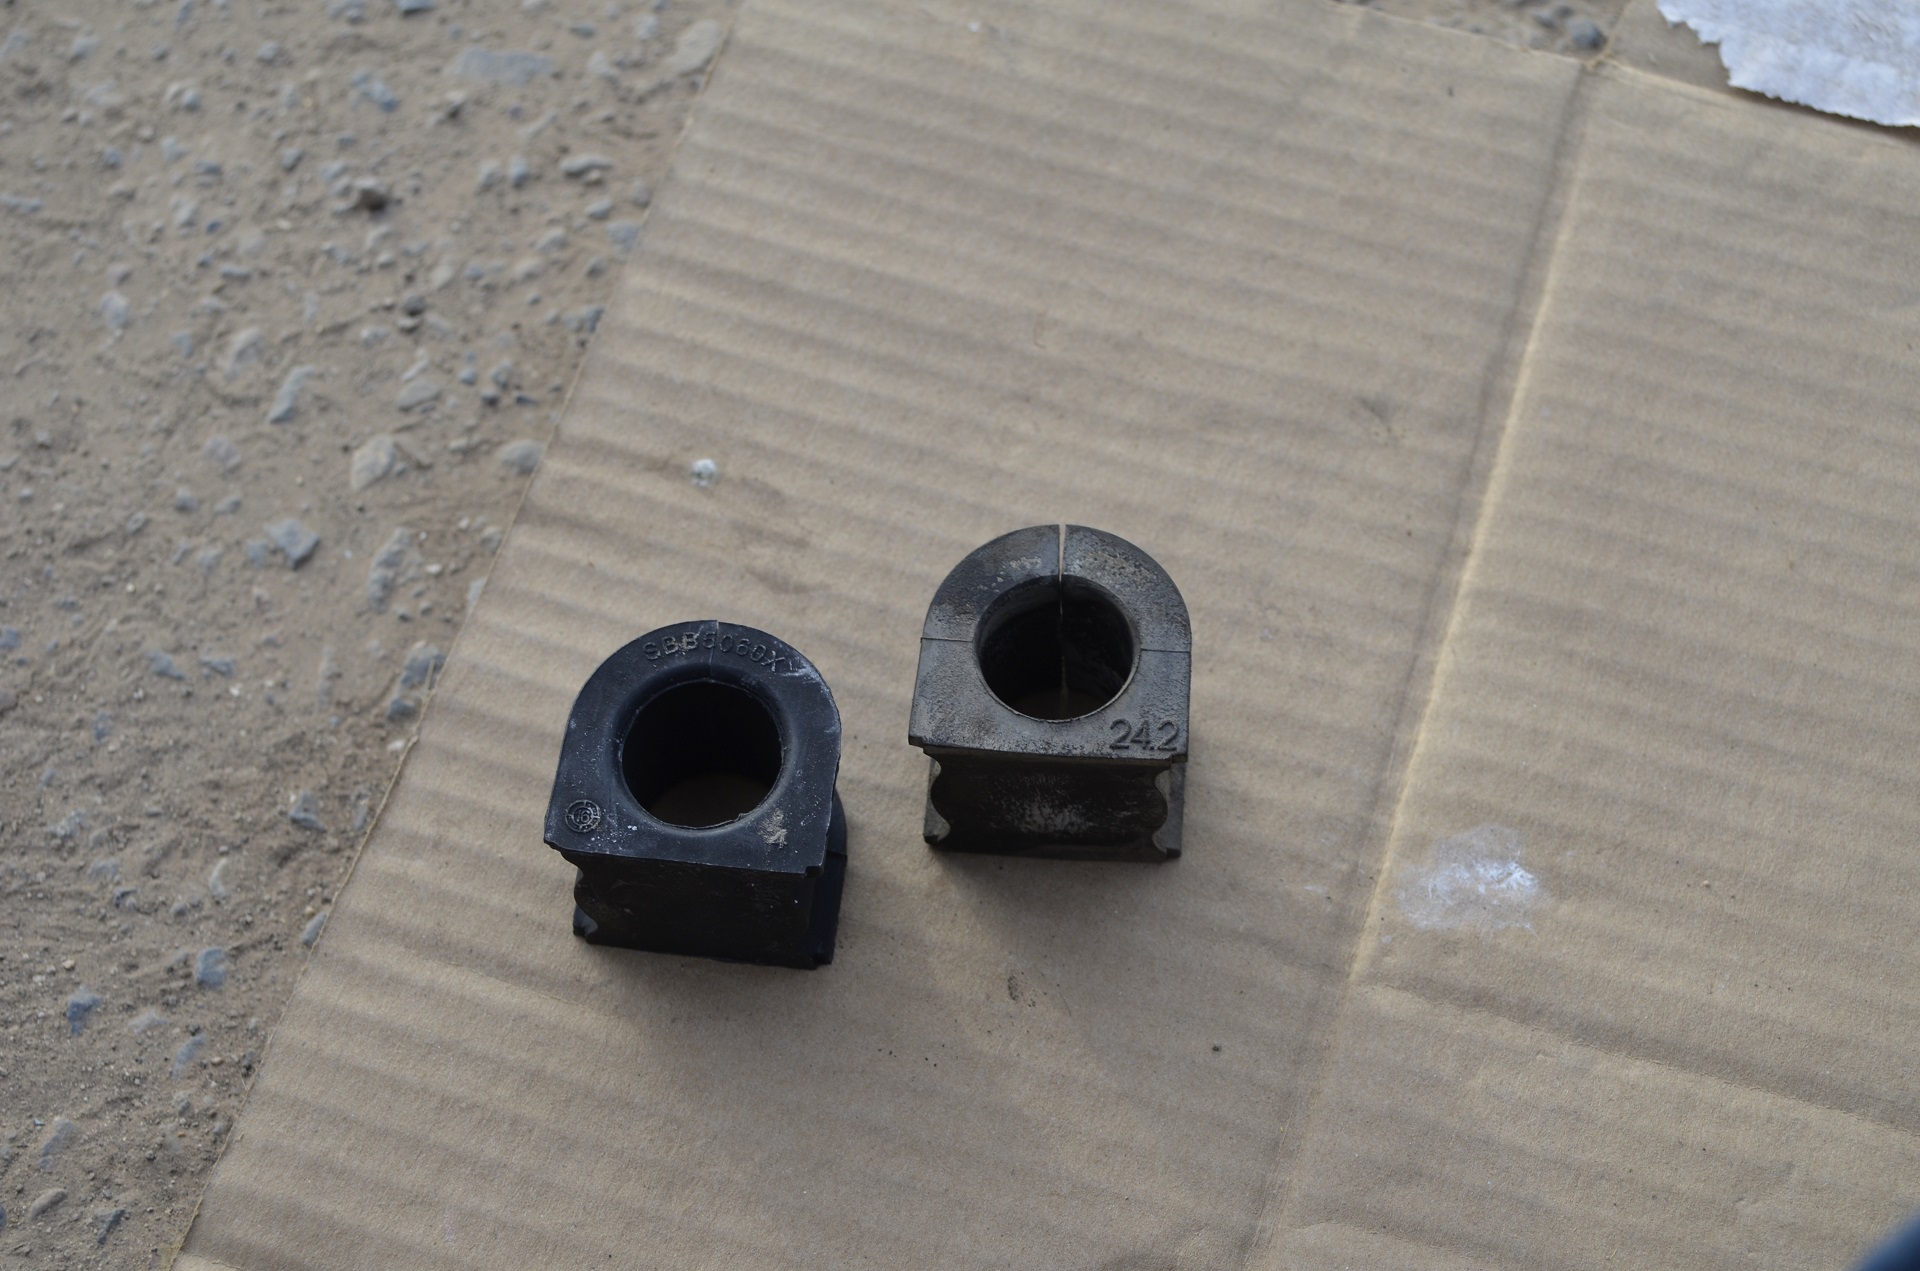
0.- New sway bar bushings. I used MOOG K200735 which are only for the BASE MODEL MDX, Sport uses different part number.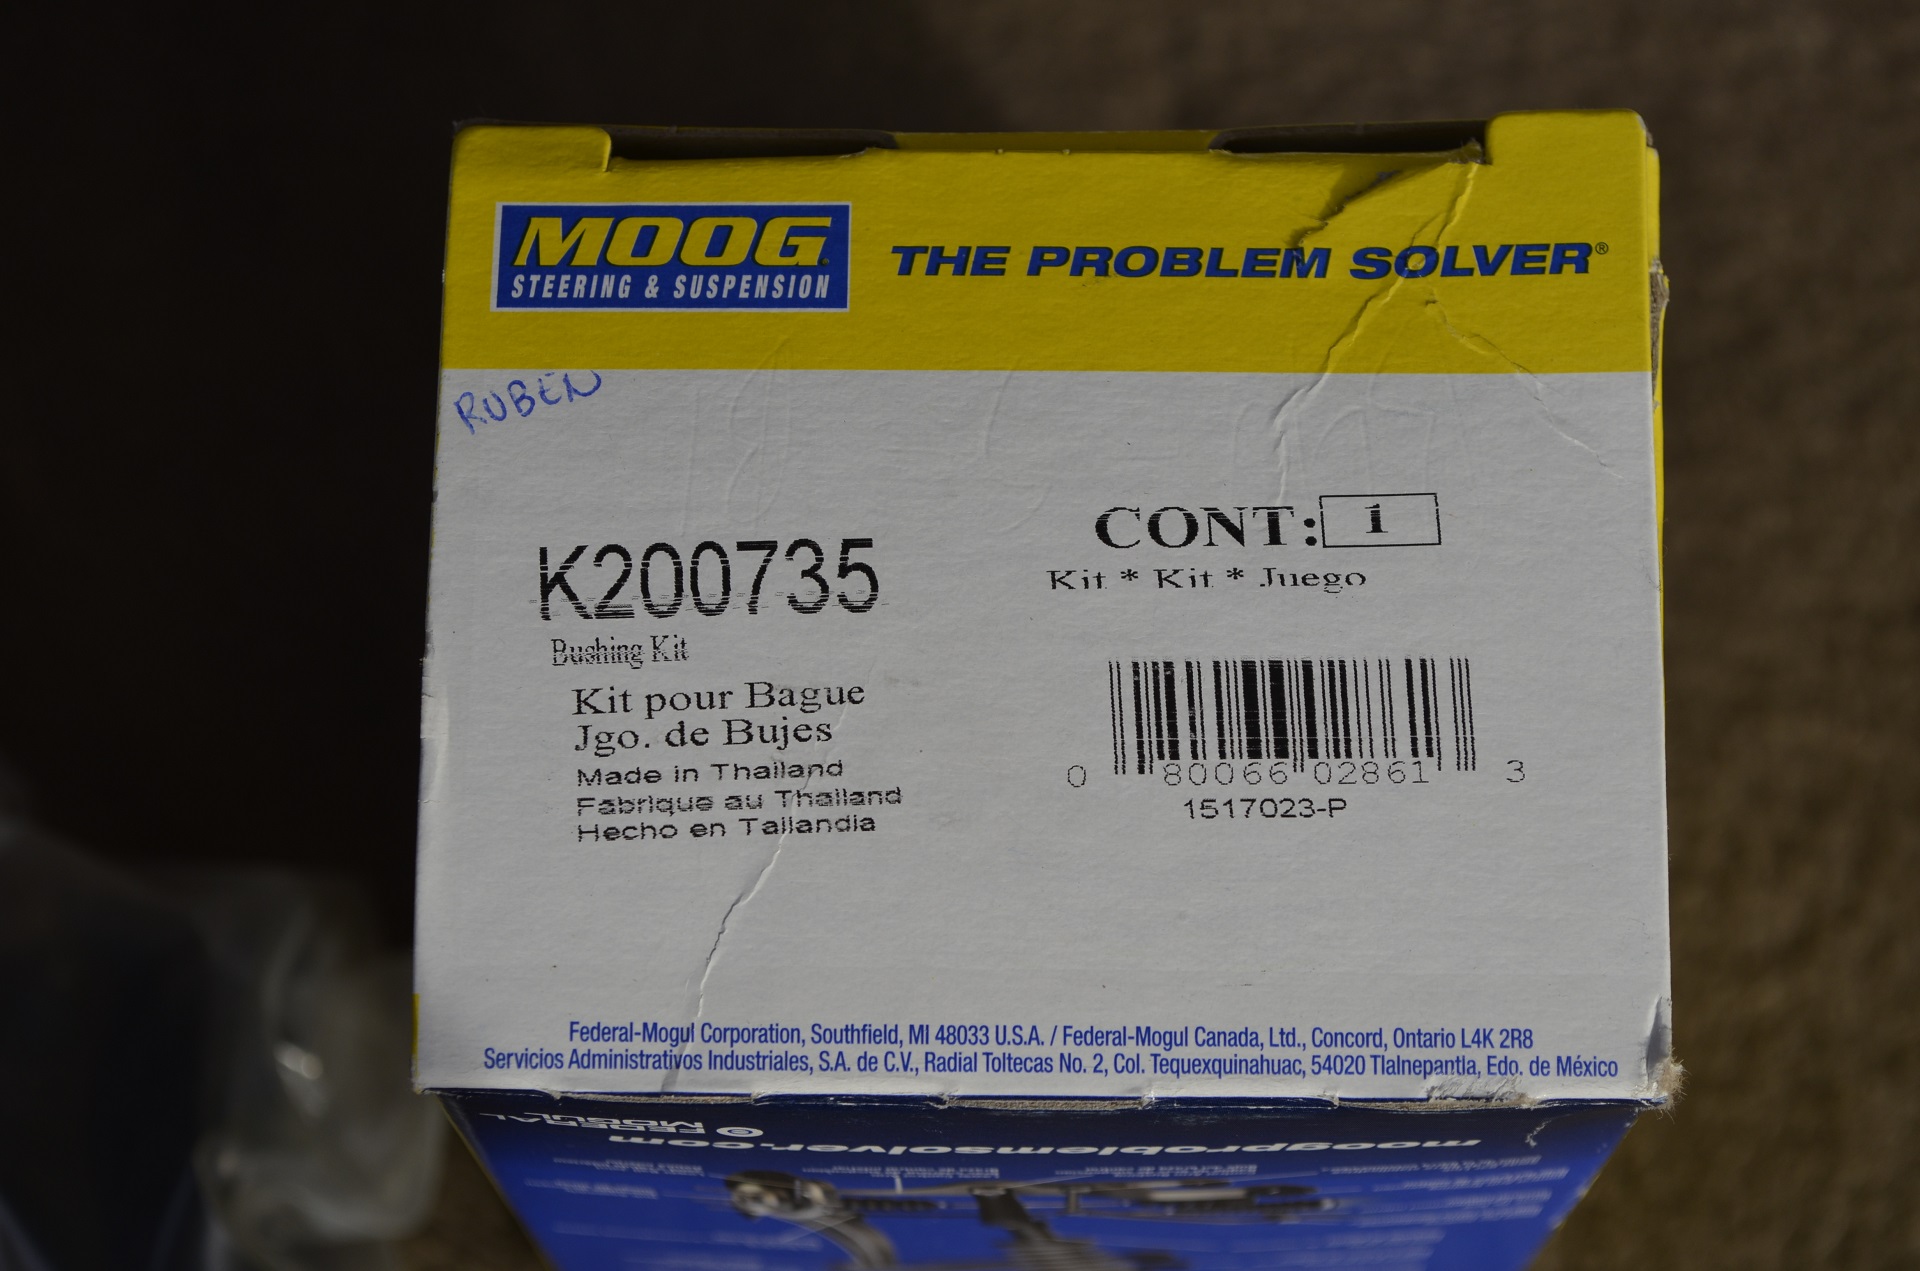
Pretty soft material, Seems poly-based.
1.- 14mm socket
2.- Ratchet
3.- Torque meter (Optional)
4.- Cleaning rags
Steps works on both sides:
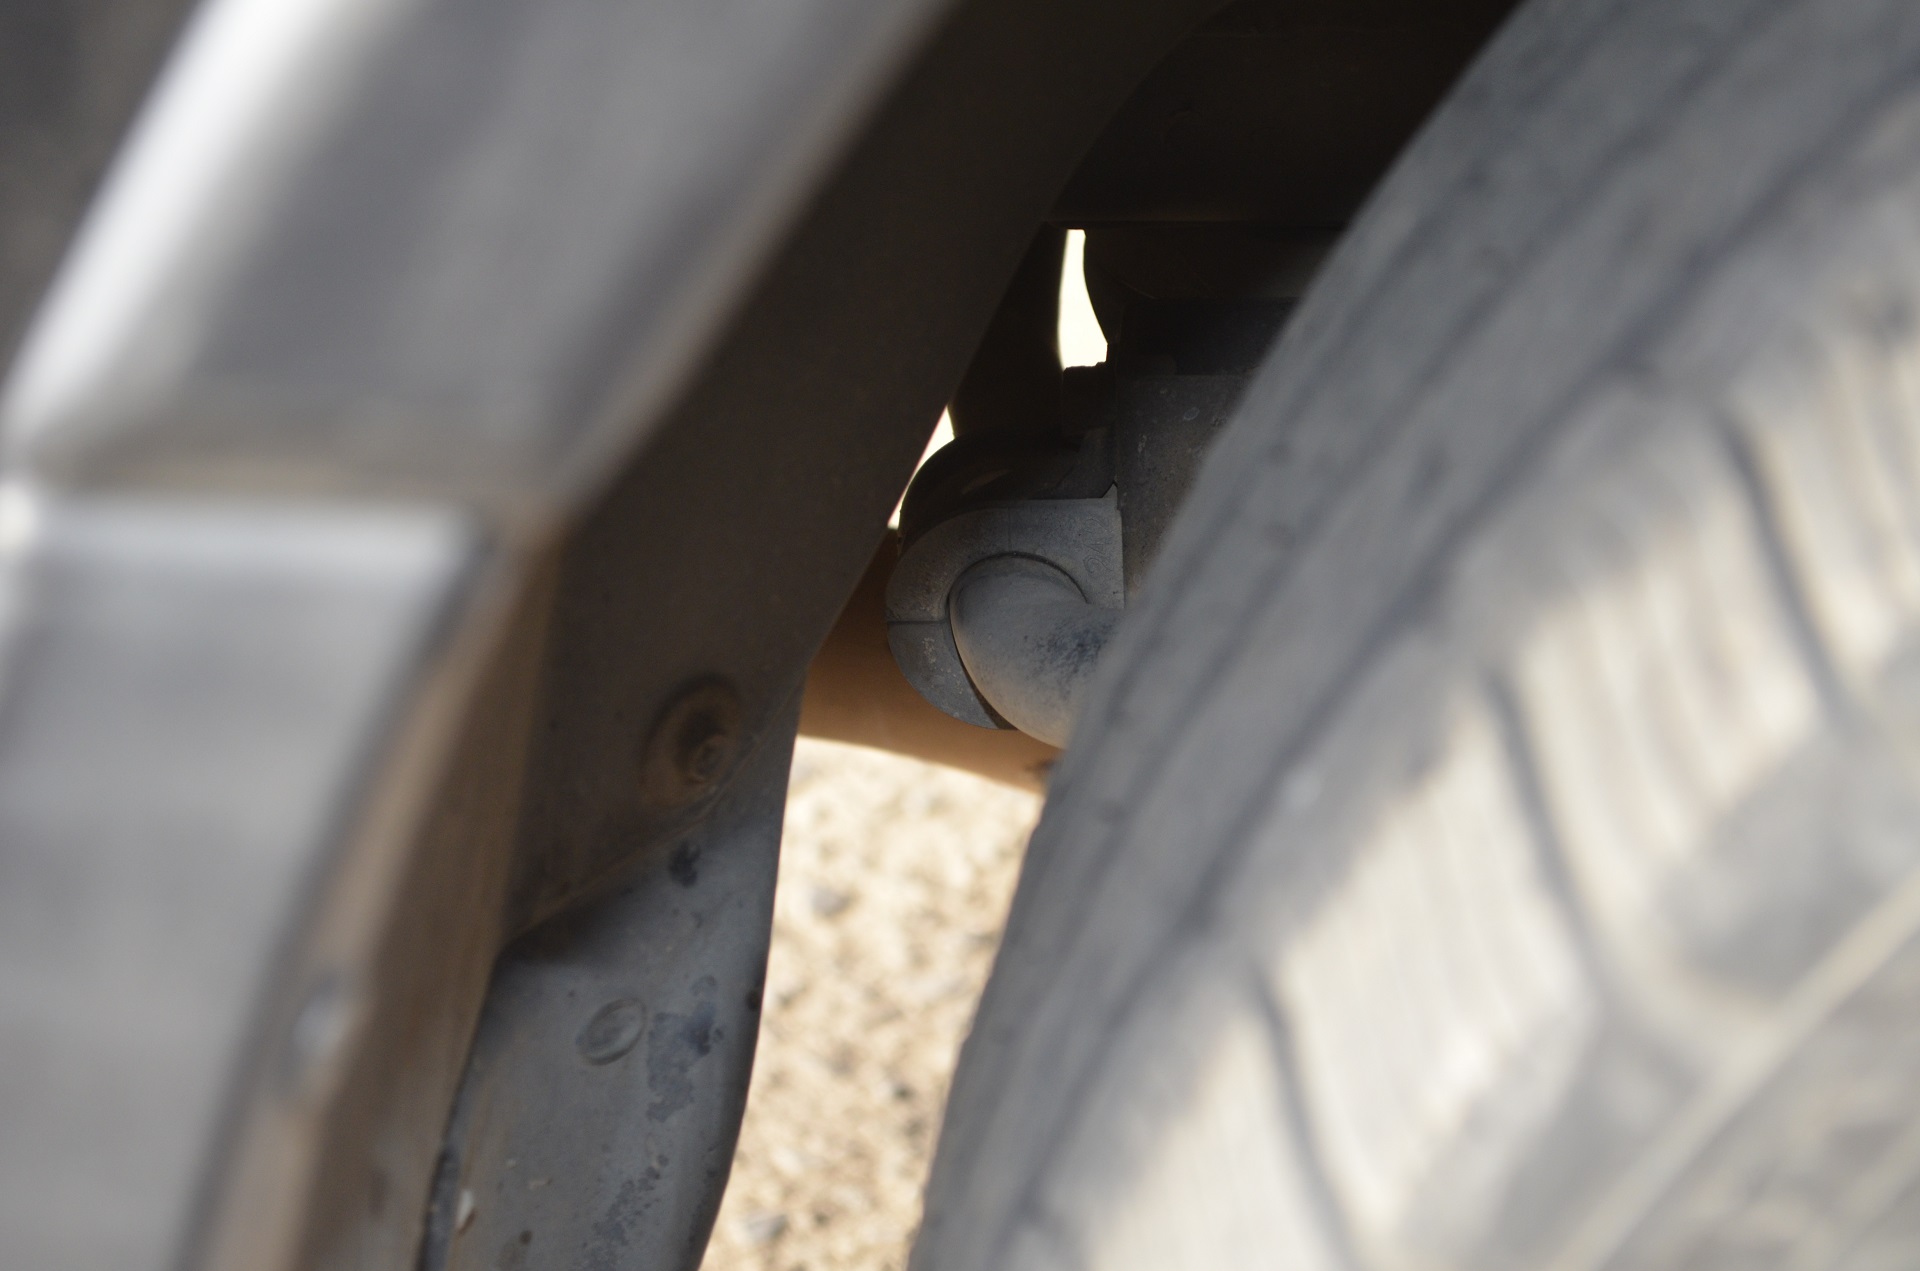
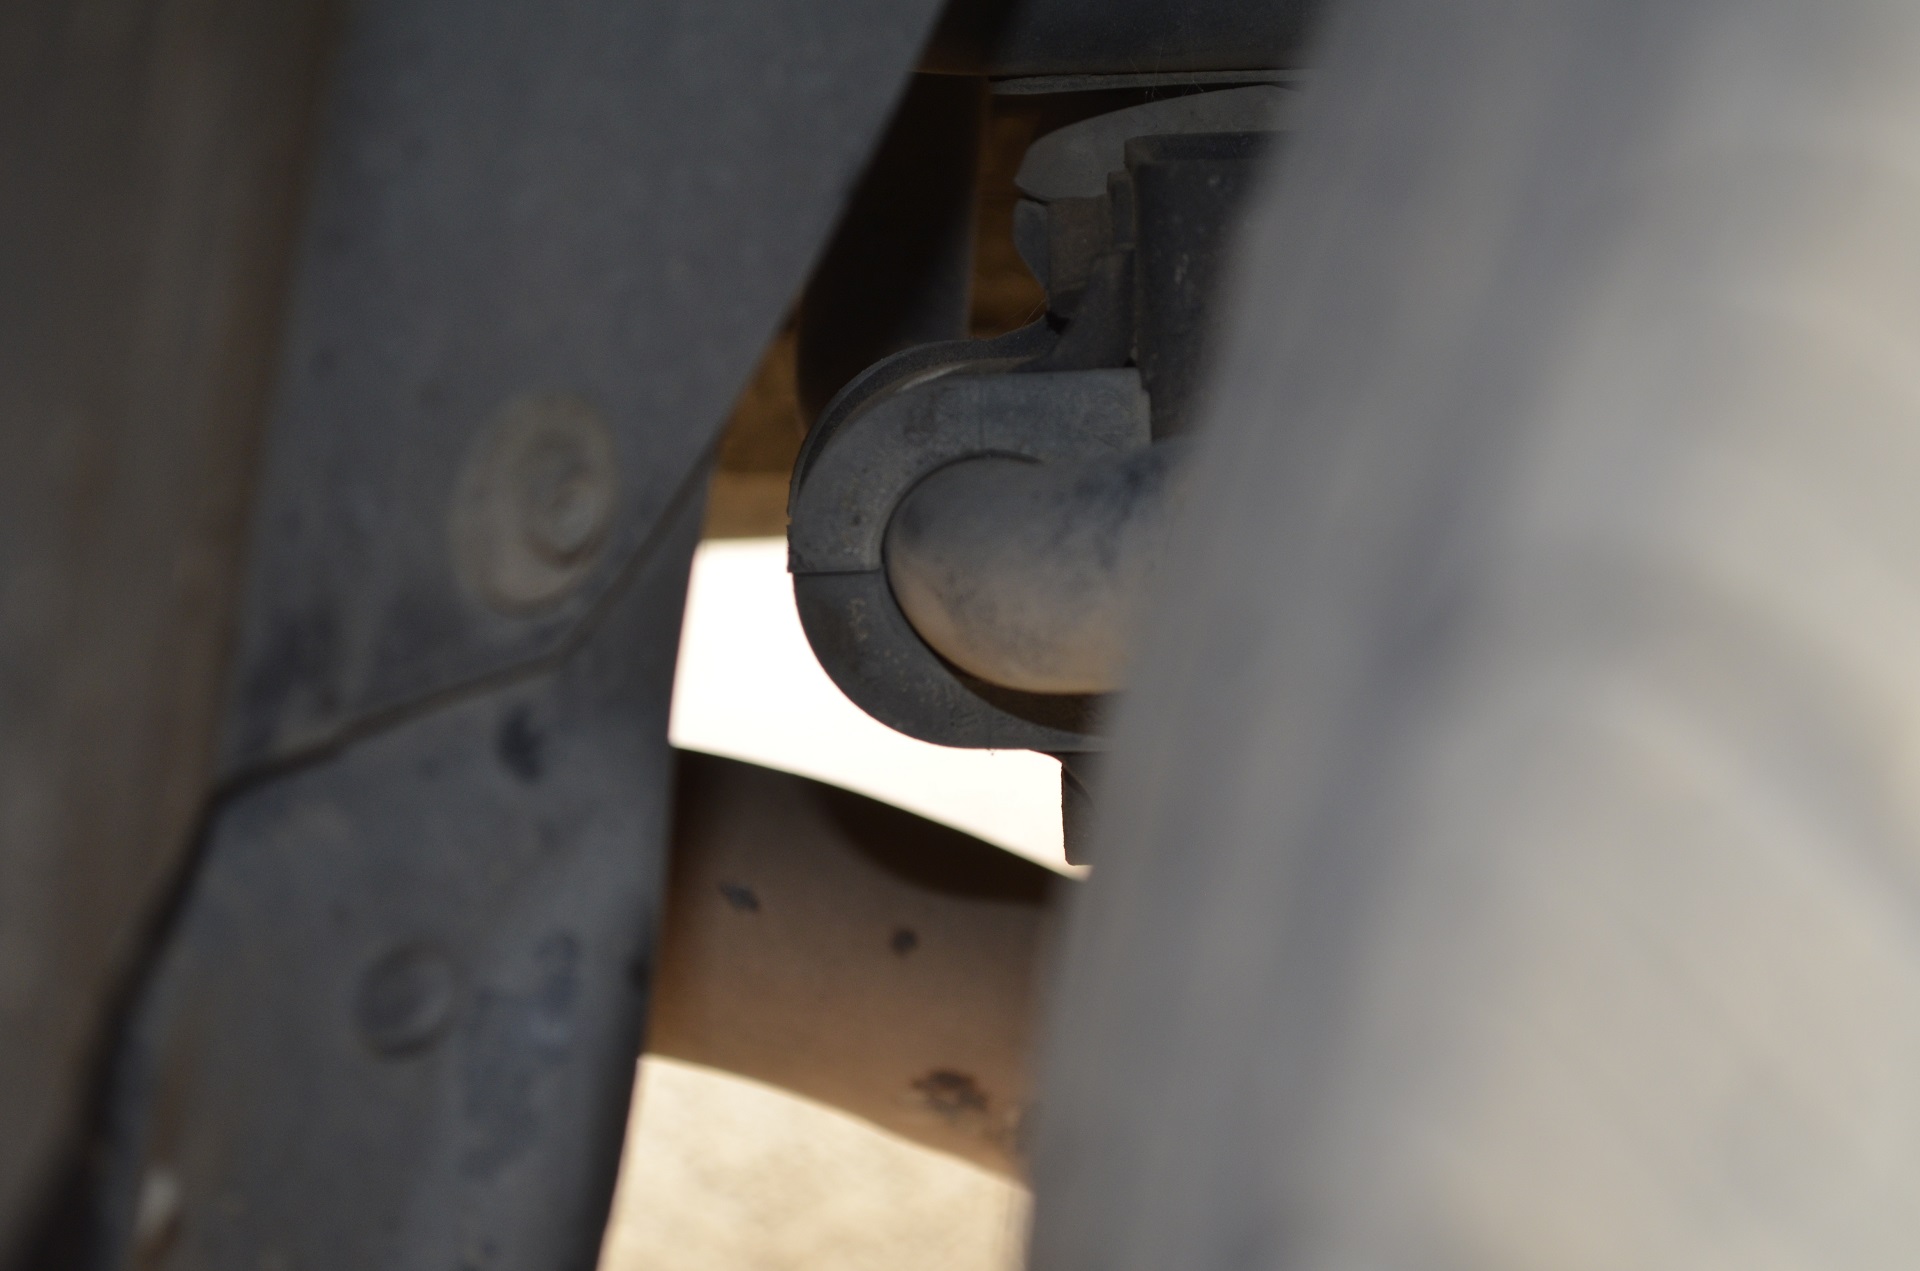
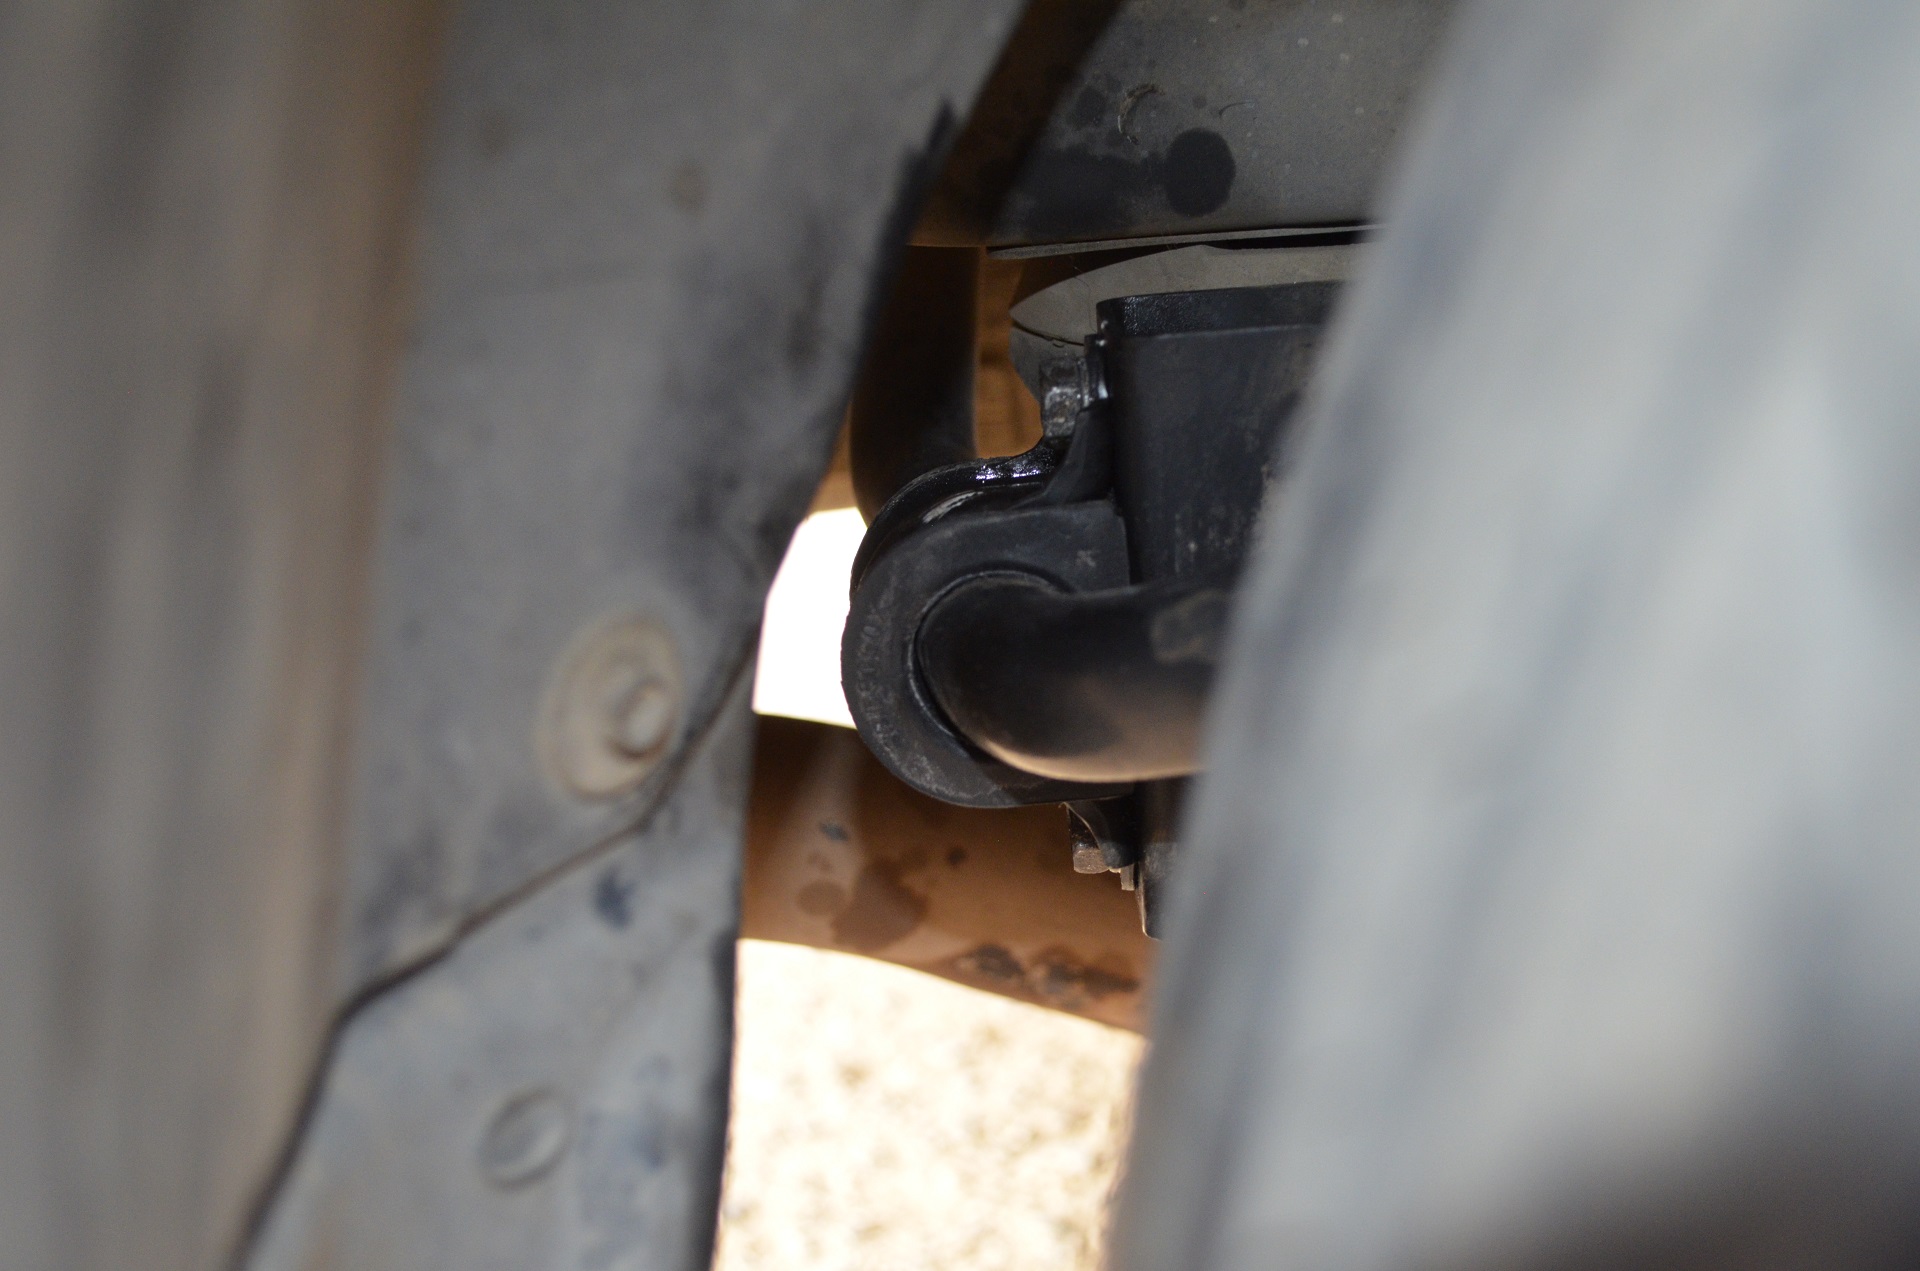
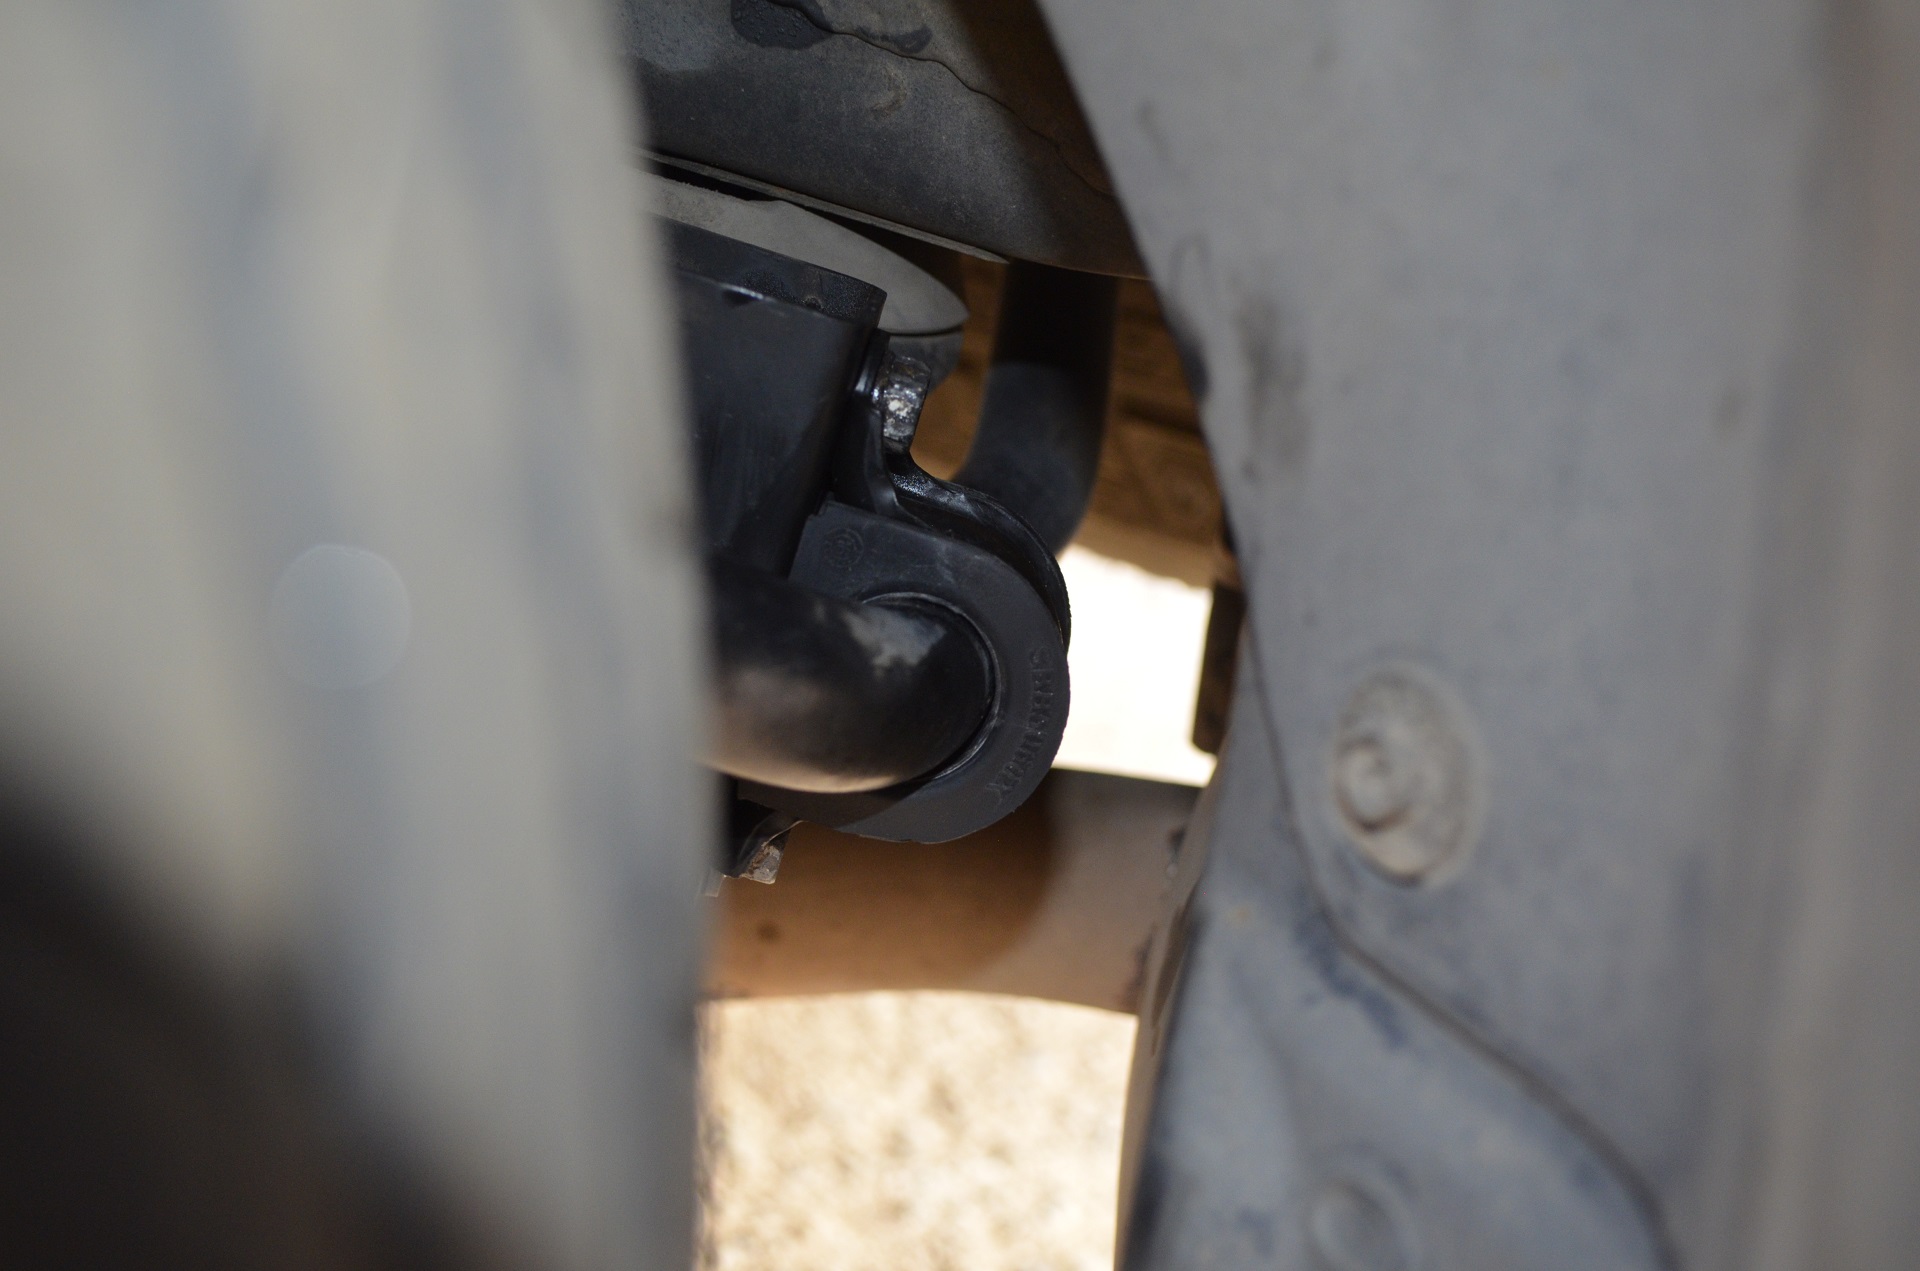
1.- You don´t need to jack up the car, Just park the car on a leveled surface and you can crawl underneath the rear and spot the bushings behind the mufflers. They are easily visible through the rear wheel wells:
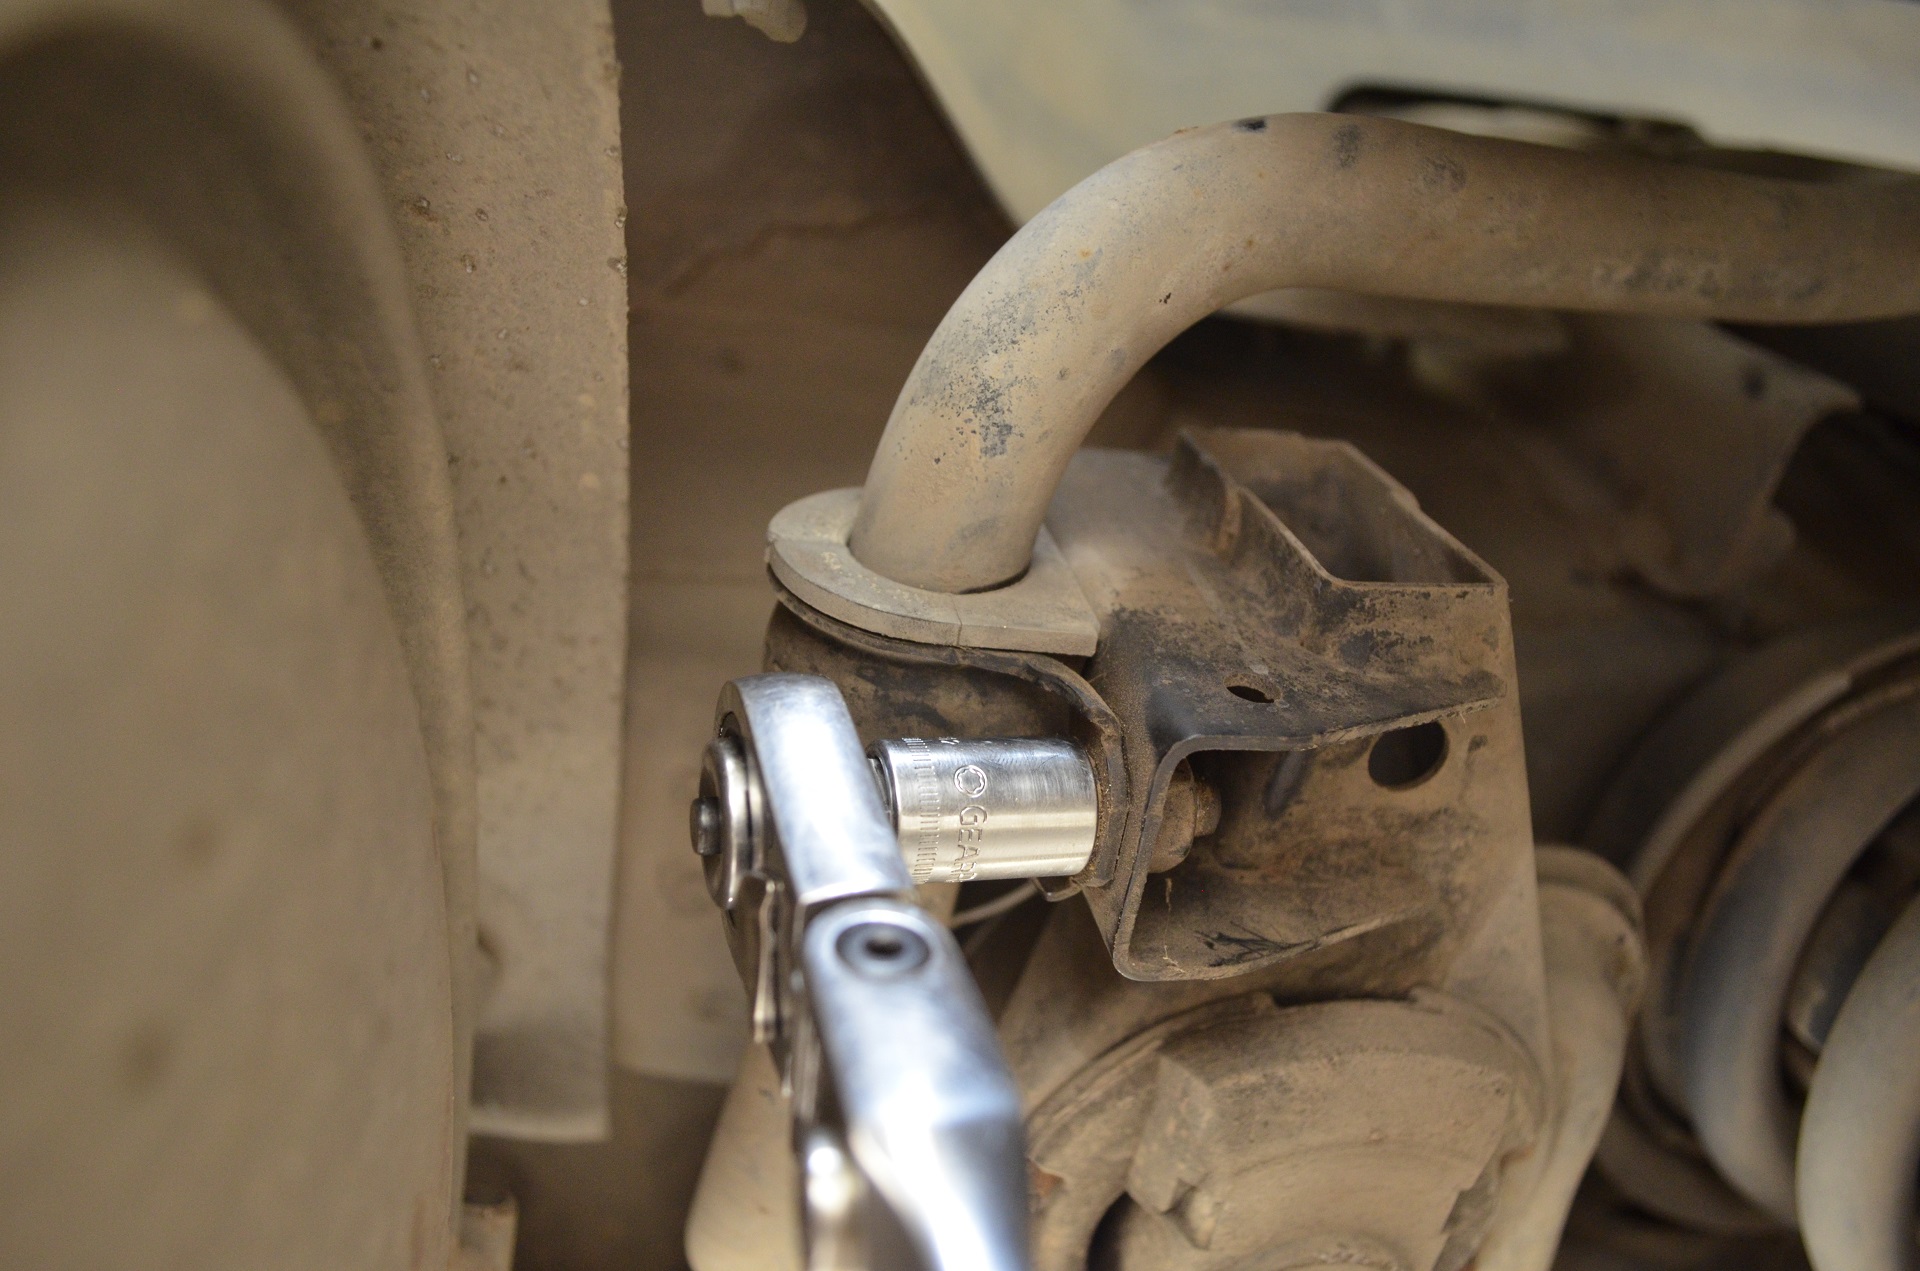
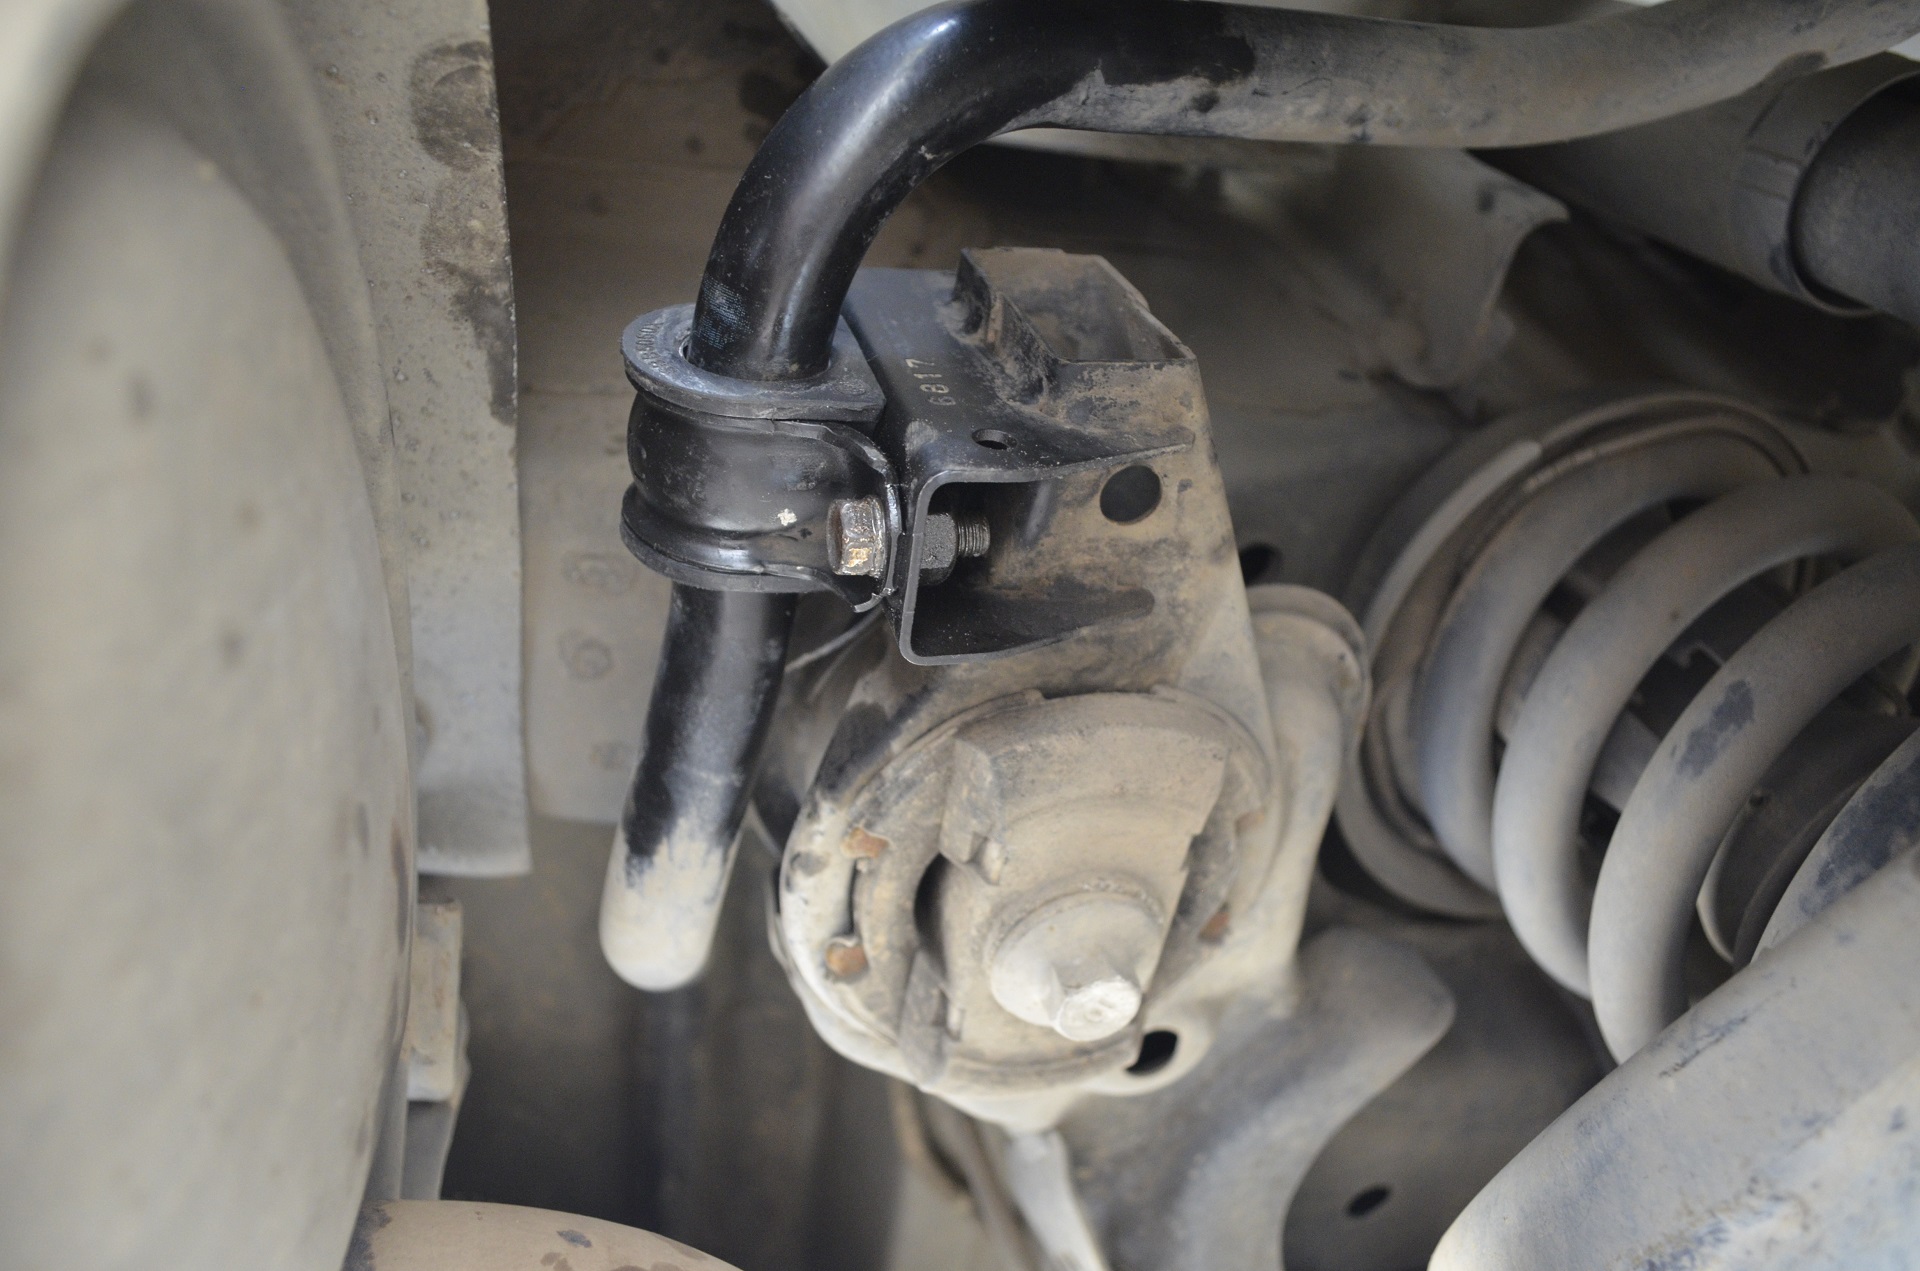
2.- Remove the bushings by removing the 2x 14mm bolts holding the bracket in place:
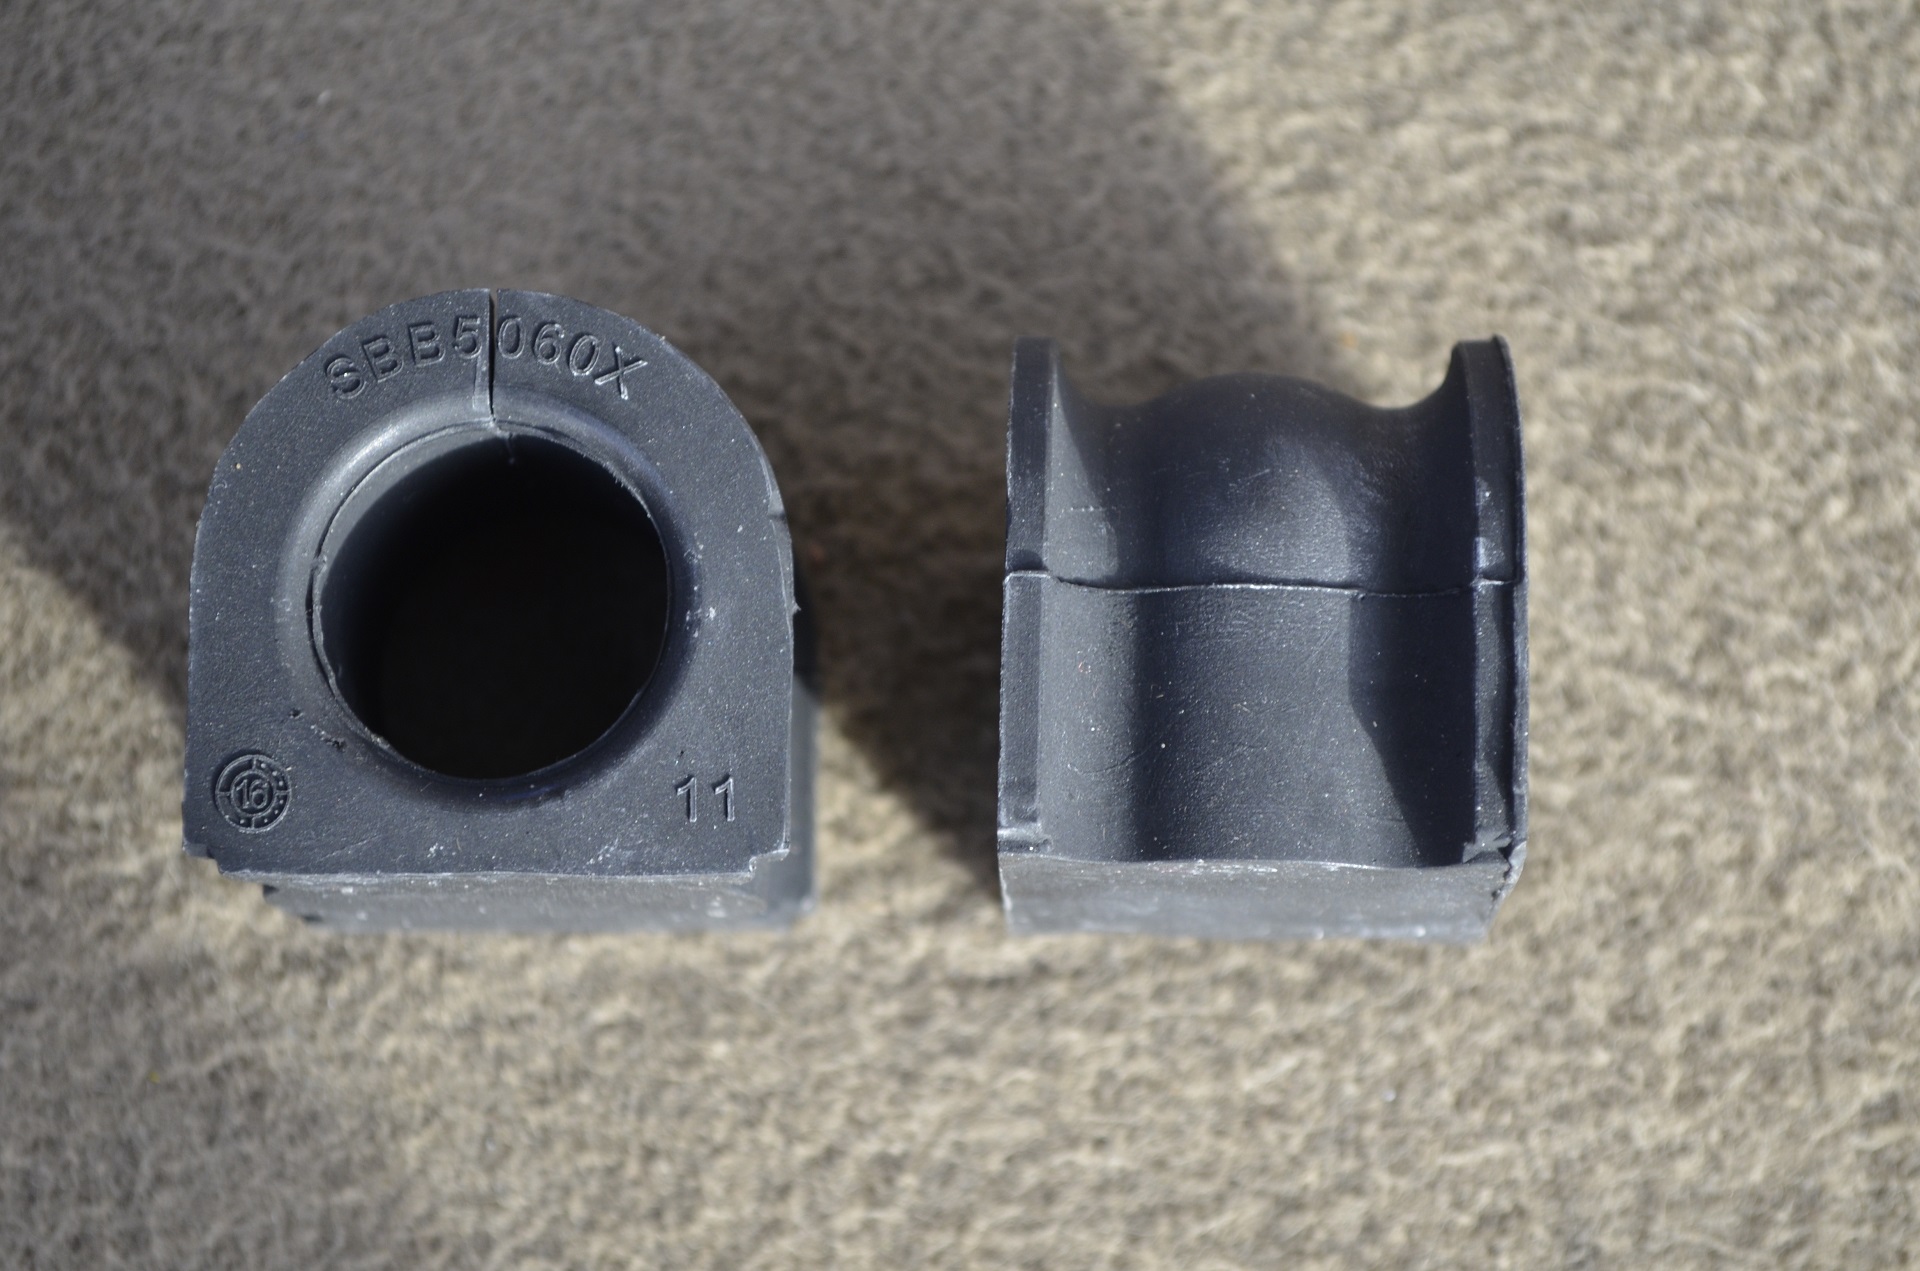
3.- Mew bushing vs Old bushing:
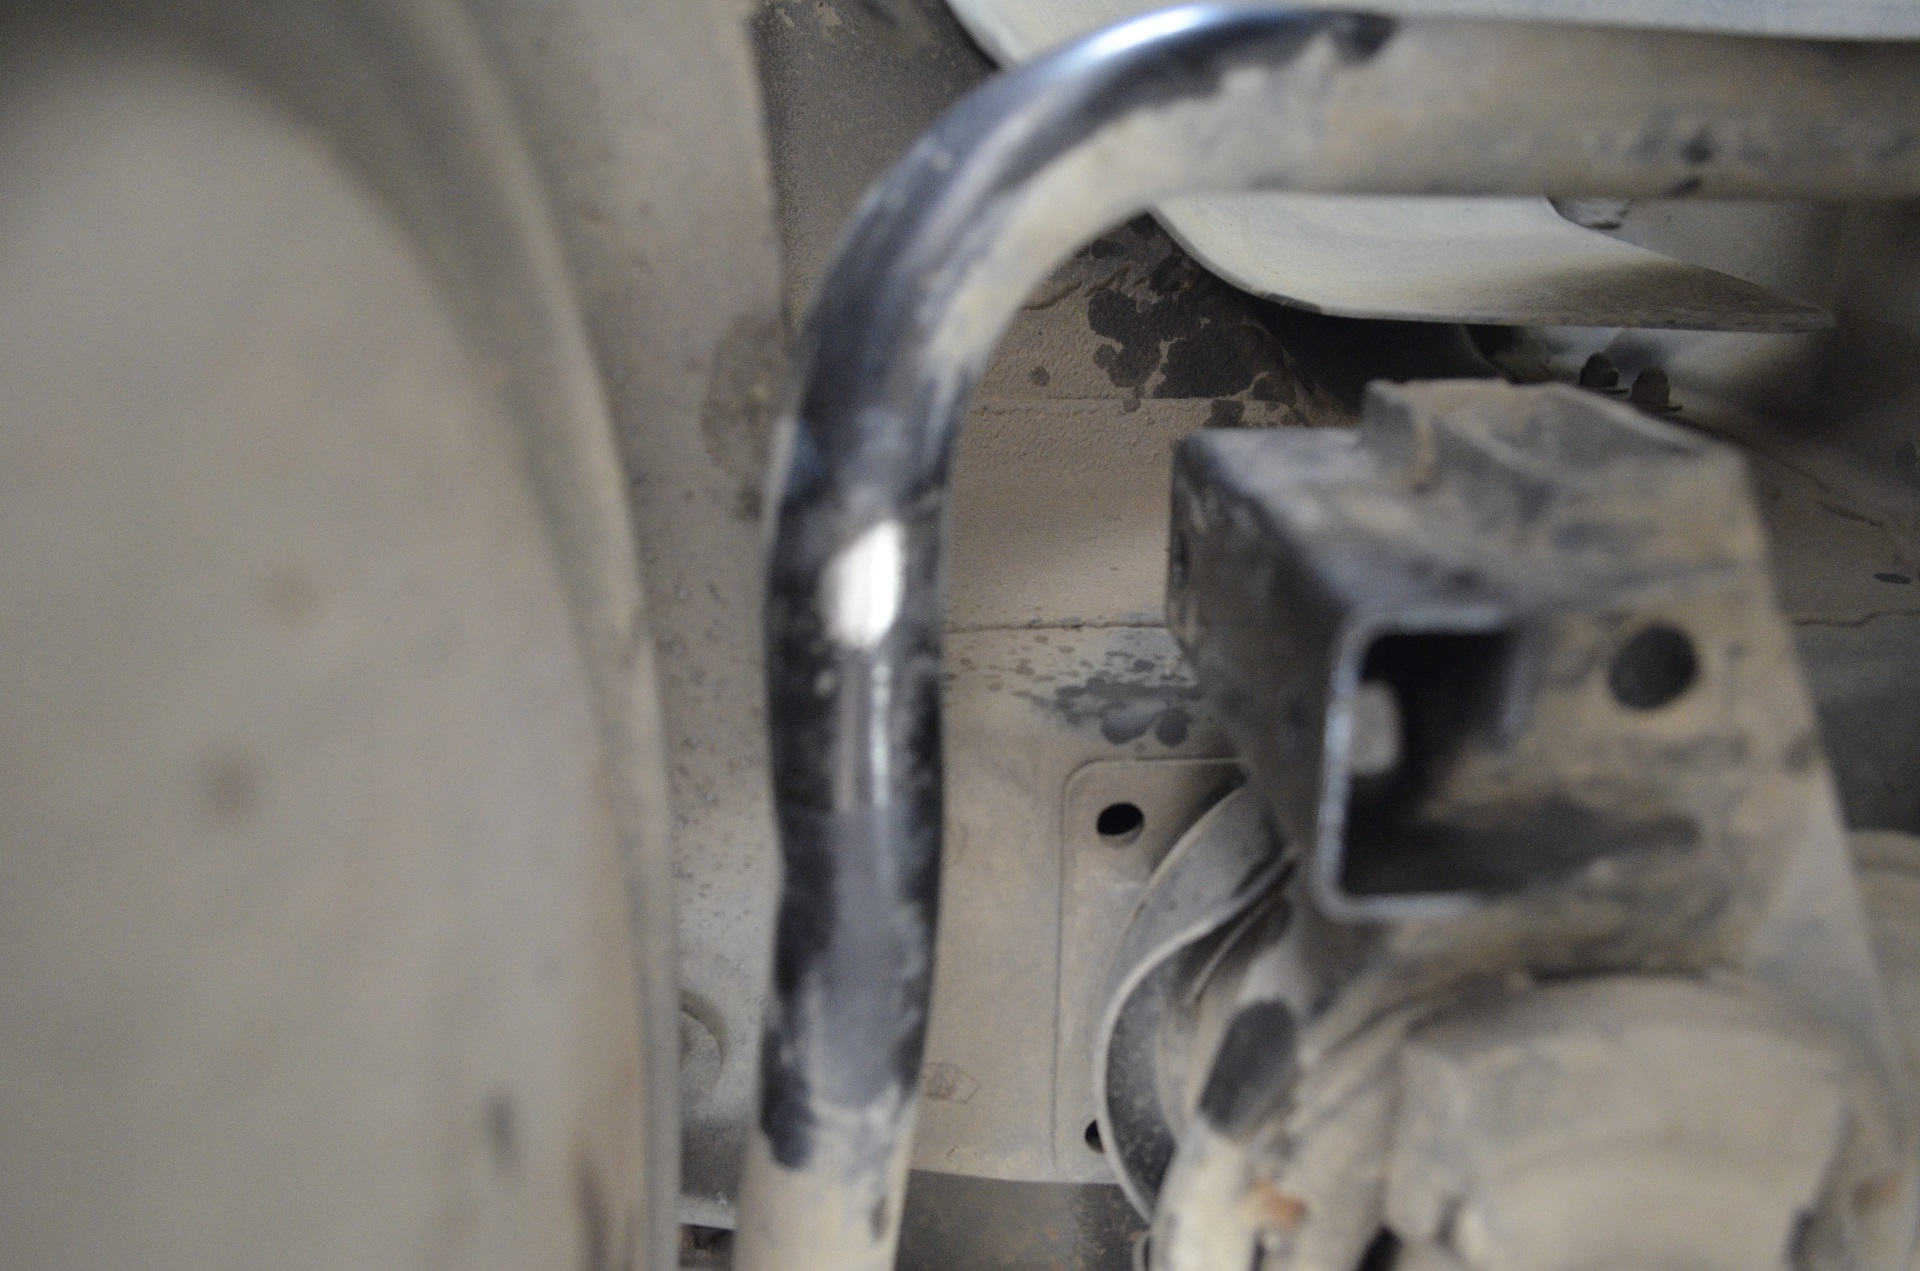
4.- Clean the sway bar for any dirt and mud, etc. Clean the base too:
5.- Install the new bushing and bracket, Torque to 22ft-lb (I didn´t get the correct measurement online, I used the torque meter to find the tightness level, they became undone at around 25ft-lb..) If you happen to find the correct measurement use that to tighten the bolts:
Tips:
1.- You can reach the upper bolt if you put your hand on top of the muffler heat shield, There is room for your arm and it will have an excellent angle to start the threads on the top bolt.
2.- Use penetrating oil before hand, I soaked them before doing this and they were still pretty tight.
3.- If a bolt is too tight do not try to remove it by force!! these screws are very small and they will cap off easily.. Use penetrating oil to thread it in and carefully remove them, When they start to snug up insert them again.. Use plenty penetrating oil when you thread it in again... Repeat until the bolt comes off.
That´s it! you just replaced your Rear Sway Bar Bushings! Give thanks to Honda since they re-designed this setup for the 2G.. The 1G MDX required you to drop the sub frame in order to reach the bushings... So this is pretty darn simple.
Pics Installed:
DIY DIFFICULT SCALE: 1 out of 10
TIME TO COMPLETE: 15 Minutes.
So after replacing my front sway bushings which were hardened to hell I decided to give it a go and replace the rears. Since there isn´t a DIY about doing that on the 2G MDX I decided to write this DIY.
Parts you will need:
0.- New sway bar bushings. I used MOOG K200735 which are only for the BASE MODEL MDX, Sport uses different part number.
Pretty soft material, Seems poly-based.
1.- 14mm socket
2.- Ratchet
3.- Torque meter (Optional)
4.- Cleaning rags
Steps works on both sides:
1.- You don´t need to jack up the car, Just park the car on a leveled surface and you can crawl underneath the rear and spot the bushings behind the mufflers. They are easily visible through the rear wheel wells:
2.- Remove the bushings by removing the 2x 14mm bolts holding the bracket in place:
3.- Mew bushing vs Old bushing:
4.- Clean the sway bar for any dirt and mud, etc. Clean the base too:
5.- Install the new bushing and bracket, Torque to 22ft-lb (I didn´t get the correct measurement online, I used the torque meter to find the tightness level, they became undone at around 25ft-lb..) If you happen to find the correct measurement use that to tighten the bolts:
Tips:
1.- You can reach the upper bolt if you put your hand on top of the muffler heat shield, There is room for your arm and it will have an excellent angle to start the threads on the top bolt.
2.- Use penetrating oil before hand, I soaked them before doing this and they were still pretty tight.
3.- If a bolt is too tight do not try to remove it by force!! these screws are very small and they will cap off easily.. Use penetrating oil to thread it in and carefully remove them, When they start to snug up insert them again.. Use plenty penetrating oil when you thread it in again... Repeat until the bolt comes off.
That´s it! you just replaced your Rear Sway Bar Bushings! Give thanks to Honda since they re-designed this setup for the 2G.. The 1G MDX required you to drop the sub frame in order to reach the bushings... So this is pretty darn simple.
Pics Installed:
DIY DIFFICULT SCALE: 1 out of 10
TIME TO COMPLETE: 15 Minutes.